Create a new Budget
There are 5 simple steps to create a new Budget in EDEE
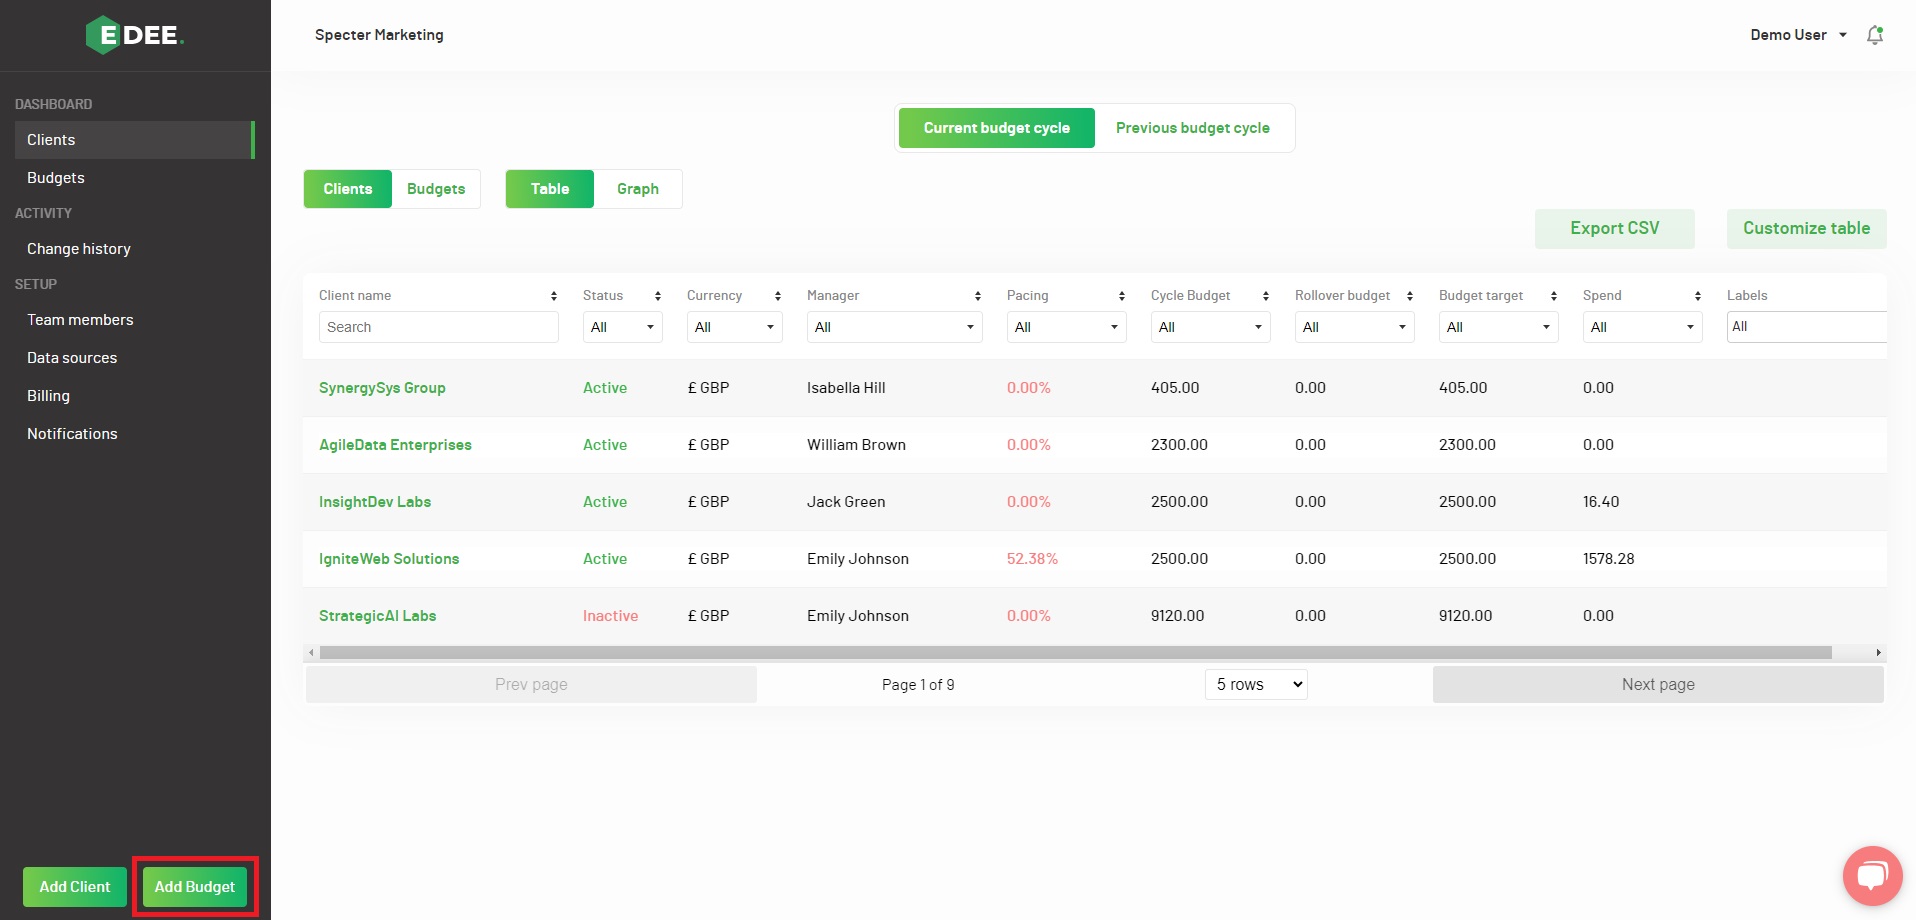
Get started by selecting ‘Add Budget’’ from the menu on the left hand side of the page;
Step 1- Name
A pop-up will be presented, prompting you to complete:
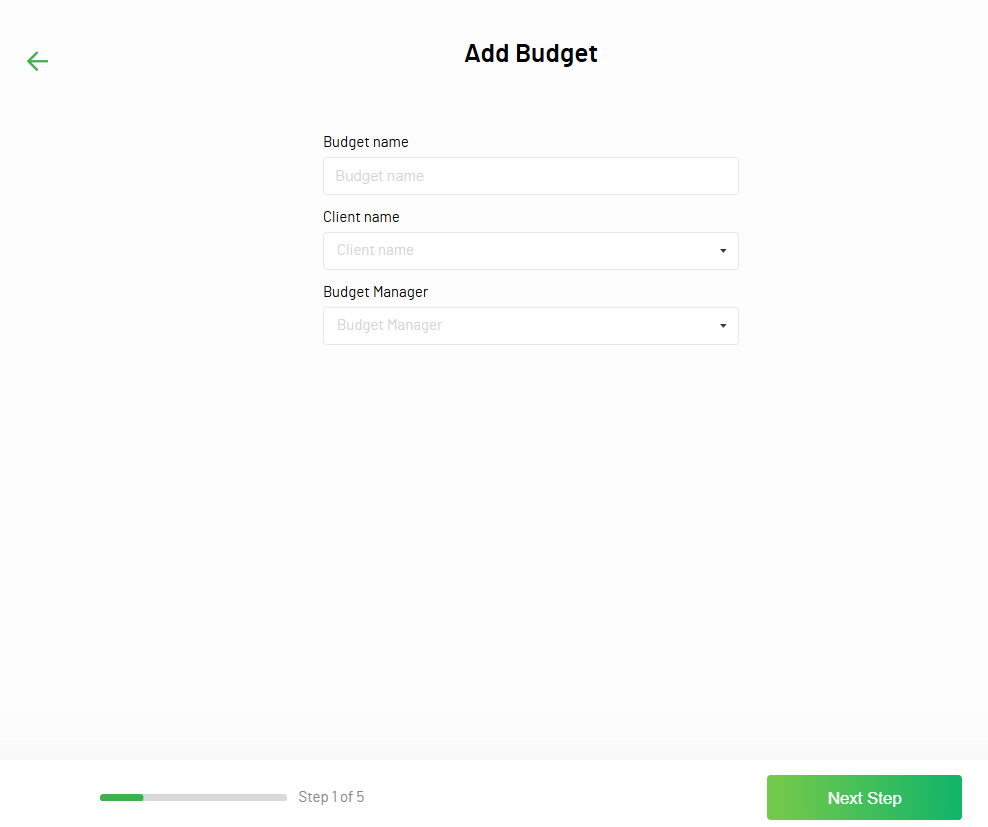
- Budget name
- Client name (choose which client you wish to assign your new Budget to)
- Budget Manager (Team Member)
Note - The Budget Manager, if left blank, will default to the Client Manager
Click ‘Next Step’
Step 2 - Amount
Choose between a monthly or custom time period;
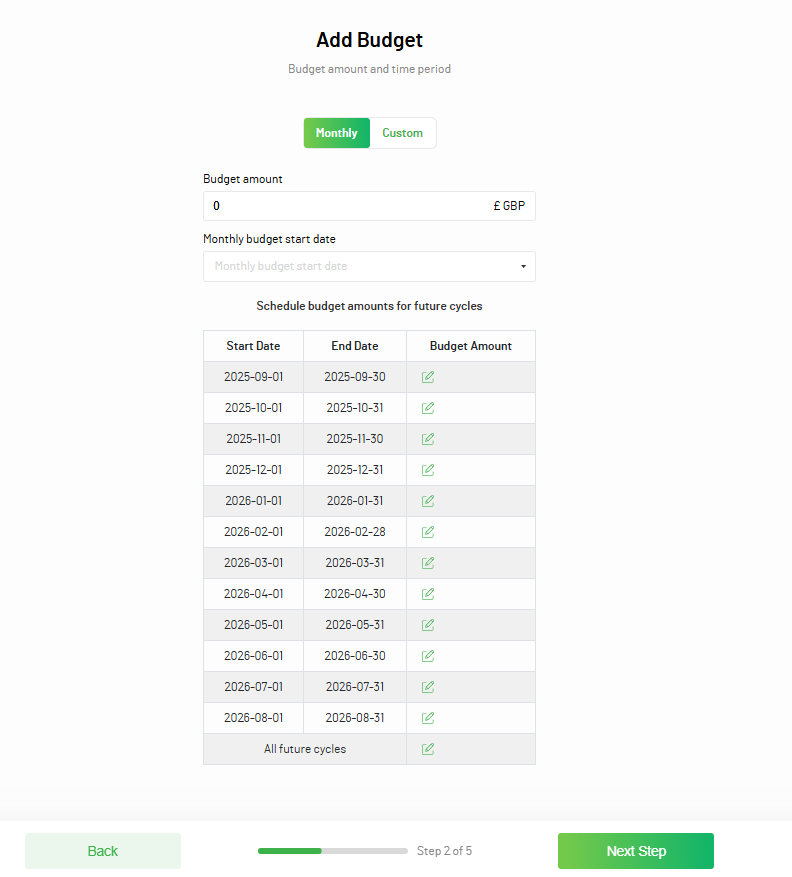
Monthly
- Simply select the monthly budget and the day of the month you wish the budget to start.
- This will create a repeating monthly budget with the option to schedule varying budget amounts for future cycles
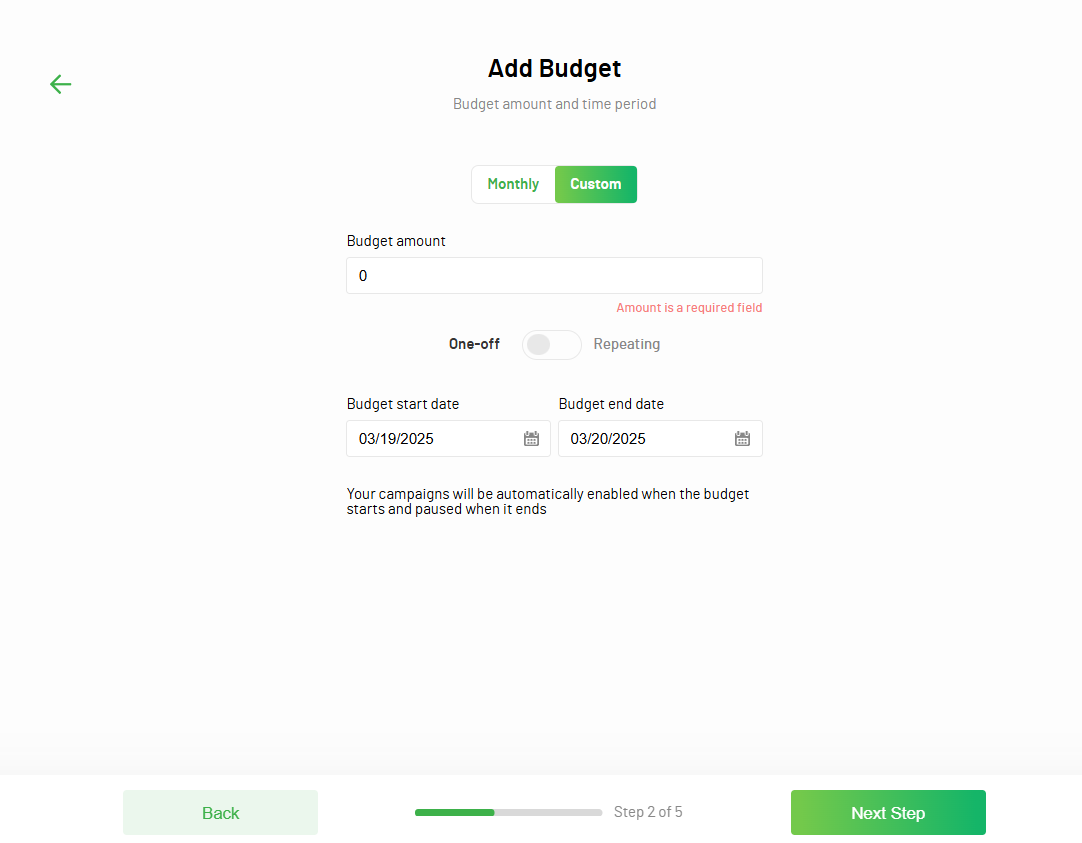
Custom
A custom time period for a Budget can be a one off or recurring cycle;
- You will be required to enter a start and end date for one-off budgets
- For custom recurring cycles, you will need to select the start date and then the recurring period; you can choose any number of days, weeks or months.
Note - The Campaigns assigned to a custom time period will be automatically enabled when the budget starts and paused when it ends.
Click ‘Next Step’
Step 3 - Campaign(s) selection
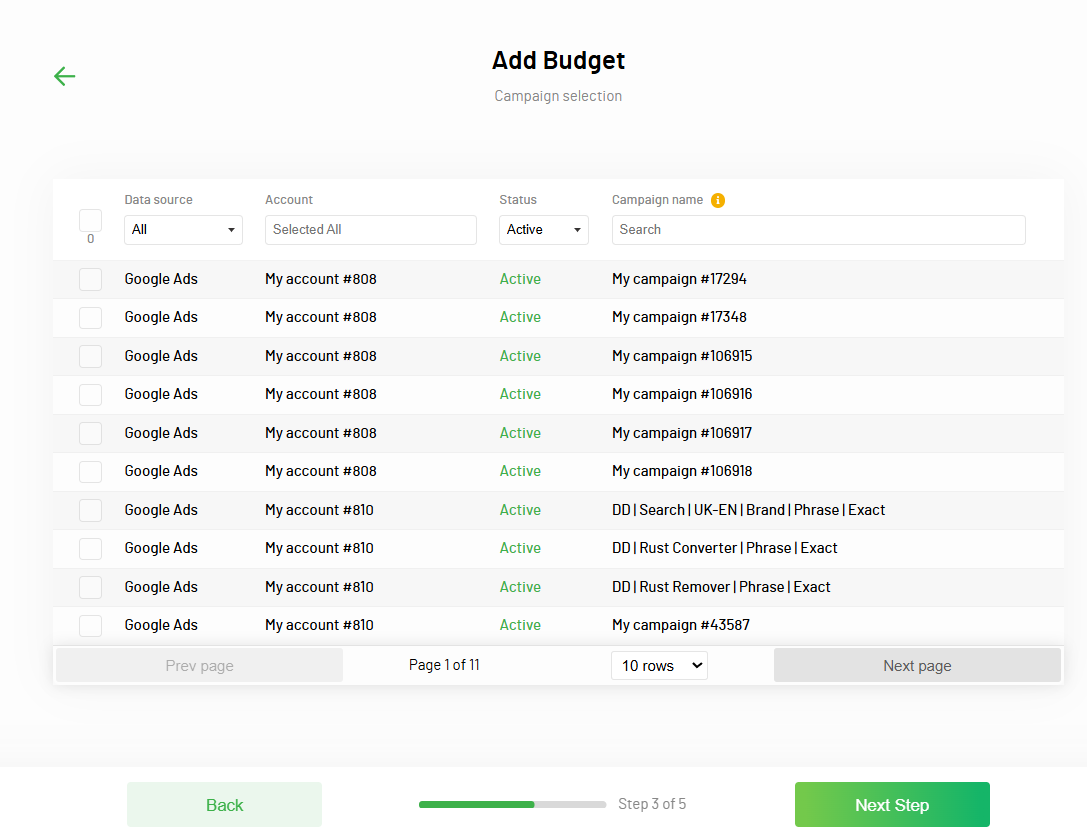
Campaigns connected in the Data Sources will be presented in a list to select which to associate with this new Budget, with selected Campaigns automatically be moved to the top of the list
NOTE - A Campaign can only be connected to a single EDEE Budget to avoid any overlap in Automations and Budget Management, hence you won’t see a Campaign that’s already used in another Budget when you are on the Campaign selector screen
All your Campaigns and their Budget allocated status can be viewed on the Campaign Dashboard
Click ‘Next Step’
Step 4 - Targets
KPIs are an optional addition to your new Budget. They help you keep track of performance vs. target/KPI
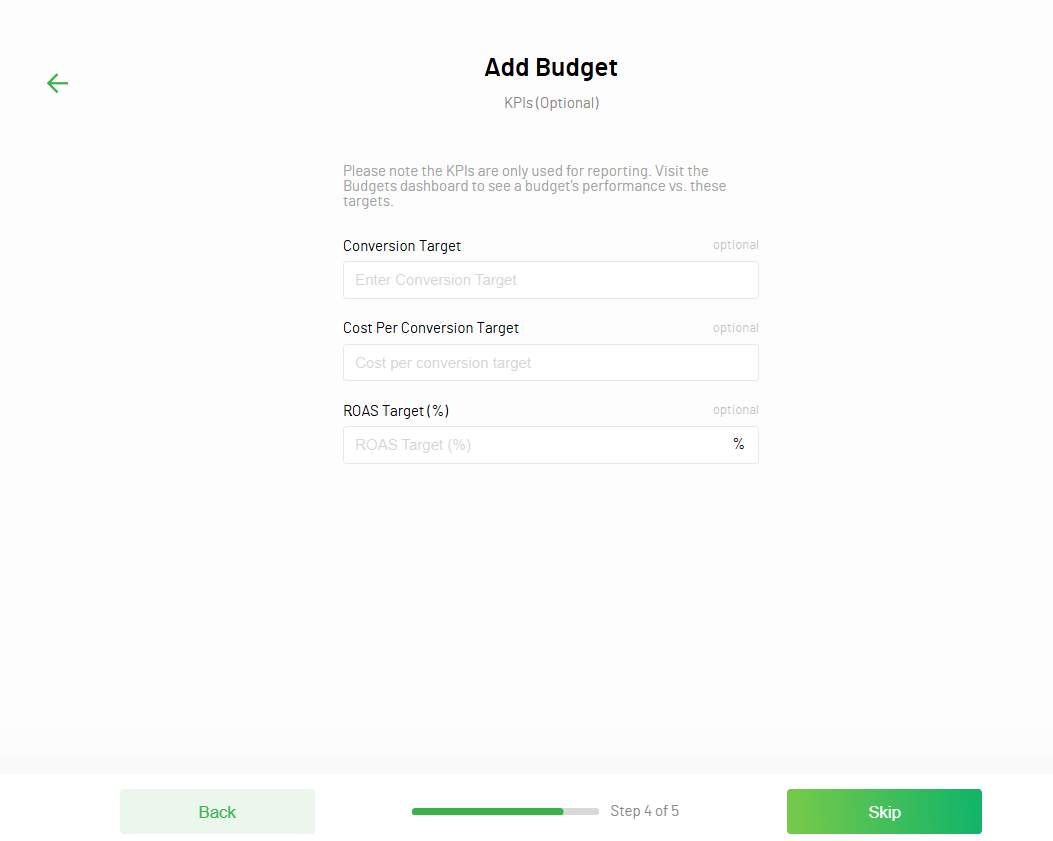
Available metrics are:
- Conversion Target - Enter the number of conversion you are aiming for
- Cost per Conversion Target
- ROAS Target (%)
Click ‘Skip’ or ‘Next Step’ as applicable
Top Tip - If targets added, remember to enable the relevant following columns in the Budgets table to keep track of performance vs. target:
- Conversions vs target
- Cost per conversion vs target
- ROAS vs target
Step 5 - Automations
There are three optional Automations you can add to your budget
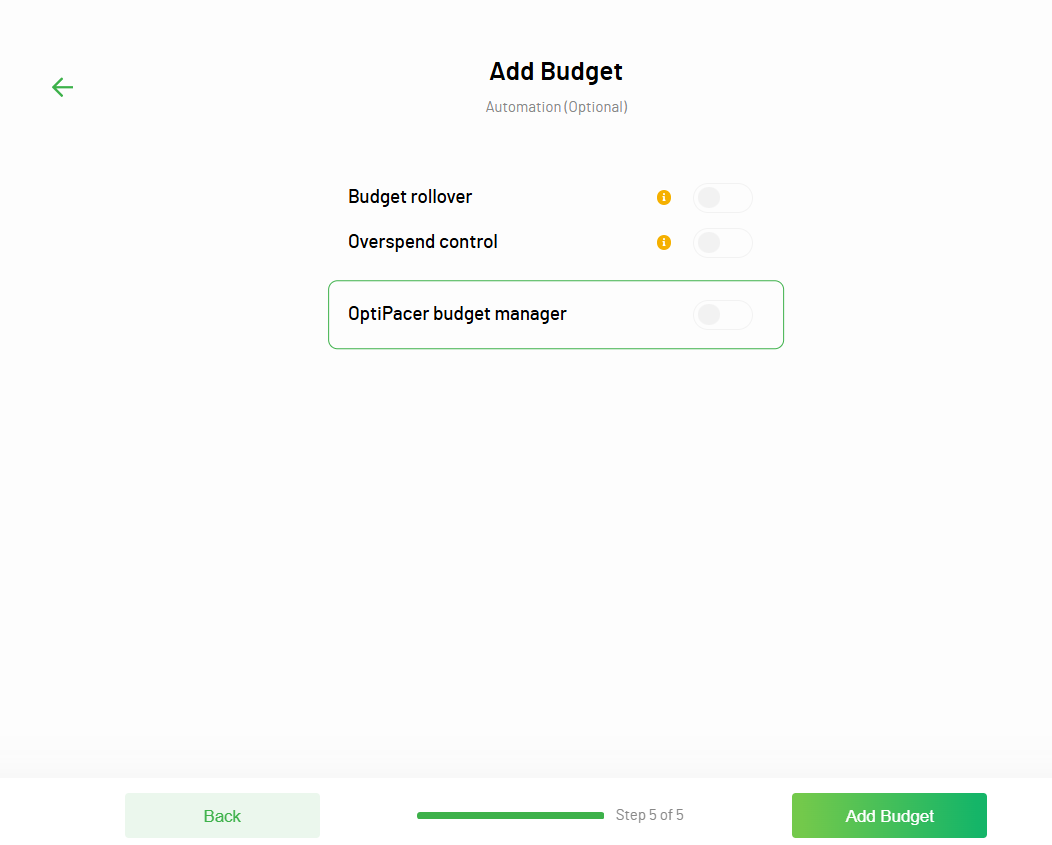
Budget Rollover
Enabling Budget Rollover increases / decreases the amount of the following Budget cycle based on the over / under spend of the previous Budget cycle.
The Rollover amount added / deducted to the new Budget cycle is clearly shown in the Budget Dashboard.
Note - when creating a new Budget, you have the option to manually add a one off Rollover amount to the first cycle. Again, this amount is clearly shown in the Budget Dashboard.
Overspend Control
This pauses campaigns or reduces their daily spends if the Budget is depleted early in the cycle.
There are two options:
Pause - pauses the active Campaigns for the rest of the cycle.
Note - The Campaigns paused by this automation will be automatically re-enabled at the start of the next cycle.
Reduce spend - reduces Campaign daily budgets by the percentage specified.
Note - This reduction remains in place at the start if the next cycle, Campaign budgets will need to be manually increase if required.
OptiPacer Budget Manager
This feature automatically adjusts campaign daily budgets based on campaign performance and your target budget amount for a cycle. It ensures you spend your target budget effectively and on time, every time.
You will need to select a Performance Metric which OptiPacer will aim to maximize. There are four options:
Sales Value
Conversions
Clicks
Impressions
Click ‘Add Budget’ to complete the new Budget creation